
It’s happened to all of us. You’re driving along and suddenly you hear that tell-tale “pop!” You know instantly that you’ve just lost a tire.
If you’re lucky, it’s just a flat and not a blow-out. Either way, you need to get the tire fixed as quickly as possible so you can get back on the road.
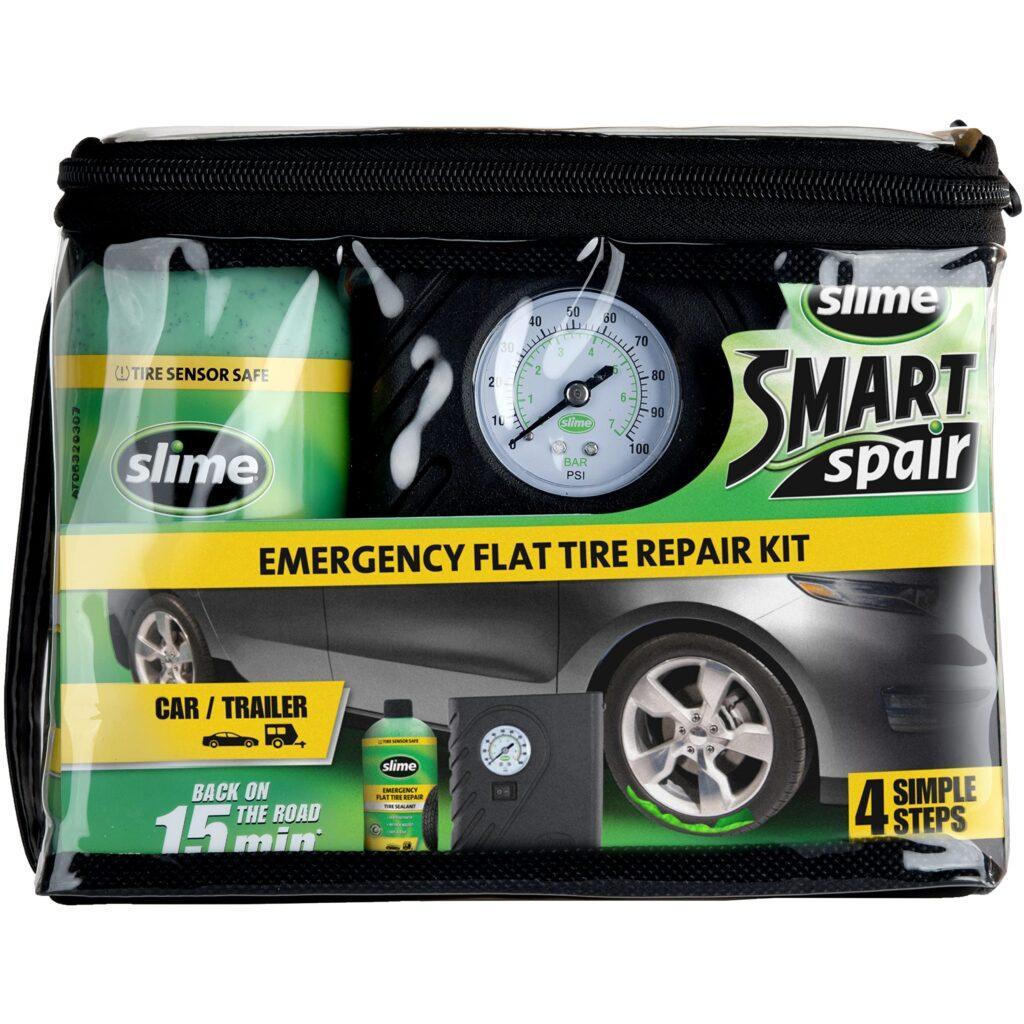
Most people don’t think about keeping a tire repair kit in their trunk – but if you find yourself stranded with a flat tire, you’ll be glad you have one!
A tire repair kit is an essential item for any driver, especially if you travel frequently or are planning a long road trip.
If you’ve ever had a flat tire, you know the feeling of panic that sets in. You’re stranded on the side of the road, and you have no idea how to fix it. Tire repair kits can be a lifesaver in this situation, but they can also be dangerous if used improperly.
Follow these five steps to safely and effectively use a tire repair kit:
1. Read the instructions carefully before beginning. This may seem like an obvious step, but it’s important to make sure you understand exactly what you’re doing before starting.
Otherwise, you could end up causing more damage than good.
2. Find the leak in your tire. Once you’ve located the hole or puncture, clean it out so that the patch will adhere properly.
3.Apply the adhesive from the kit around the hole. Be generous with it – you want to make sure there’s enough to create a strong seal.
4 .
Place the patch over the hole and press down firmly to secure it in place . Again , making sure there’s a good seal is crucial here .
5 .
Inflate your tire using an air compressor or hand pump . Start slowly at first , then check the pressure to ensure that it’s at the recommended level .
Mitsubishi Motors – How to use the Tyre Repair Kit
How Do You Use a Tire Plug Repair Kit?
If you have a tire that’s lost some air and needs a quick repair, a tire plug kit can come in handy. Here’s how to use one to fix your tire:
1. Start by finding the puncture in your tire.
You can do this by looking for a nail or other sharp object sticking out of the tire, or by using a handheld air pressure gauge to check for leaks. Once you’ve found the hole, clean it out with the wire brush that came with your kit.
2. Next, insert the rasp tool into the hole and twist it around to widen the opening.
This will help the plug fit more snugly into the hole.
3. Take the plug and lubricate it with either soapy water or rubber cement, which also came in your kit. Then, insert it into the hole and push it in until only about an inch of Plug is sticking out.
4. Use the insertion tool (also included in your kit) to push the plug further into the tire until it’s flush withthe surface ofthe tire tread . At this point, you can removethe insertion tool and trim off any excessplug material that’s sticking outwith a knife or scissors .
5 Finally , use an air compressor or hand pumpto inflateyourtireto its properpressure .
What is the Process of Patching a Tire?
Assuming you are talking about a bicycle tire, the process is as follows:
1. Remove the wheel from the bike. You will need to unscrew the bolts that hold the wheel in place.
Some bikes have quick release levers that make this step easier.
2. Once the wheel is removed, take out the inner tube. To do this, first remove any dirt or debris from around the valve stem.
Then, use a tire lever to pry one side of the bead of the tire away from the rim. You can then work your way around the tire until it is completely off of the rim.
3. Take a close look at both sides of the inner tube and try to locate the hole or puncture.
If you cannot find it, inflate the tube slightly and listen for where air hissing out. Once you have found the hole, mark it with a pen or pencil so you can easily find it when it comes time to patching it up later on 4.. Now that you have found and markedthe hole in question, deflatethe tube completely and prepareto patchit up 5..
In order to patch an inner tube,you will need a special adhesive patchesand vulcanizing cementglue designedfor repairingtubes 6.. Spreada generous amountof glueoverthe area surroundingthe holein question 7.. Placeyour patchovertopof The glued surfaceand pressdownfirmly 8..
Allowplentyoftimeforthe glueTo drybeforereassemblingeverything 9..
How Do You Use a Tire Pump Kit?
Assuming you would like a blog post on how to use a tire pump kit:
Most tire pump kits come with pretty simple instructions. You start by screwing the air hose onto the valve stem on your tire.
Make sure it’s tight so no air will leak out. Then, you plug the power cord into an outlet and turn on the switch. Some pumps have a gauge that will tell you how much air is in your tire, but if yours doesn’t, you can usually tell by looking at the size of the inflation needle.
Once the needle is pointing to the correct PSI for your tires, you can turn off the pump and disconnect everything.

Credit: www.airstream.com
How to Patch a Tire With a Nail in It
If you’re like most people, you’ve probably had a flat tire at some point. And if you’re really unlucky, it’s happened when you were far from home and couldn’t change the tire yourself. But don’t worry, there are ways to patch a tire with a nail in it so you can get back on the road.
First, try to remove the nail if possible. If the nail is too deep or the hole is too big, then you’ll need to patch the tire from the inside. You can do this by removing the valve stem and inserting a plug into the hole.
There are kits available that have everything you need to do this.
If the hole isn’t too big and the nail isn’t too deep, then you can try patching it from the outside. Start by cleaning around the hole with a wire brush or sandpaper.
Then apply some rubber cement or vulcanizing solution to both sides of a patch. Place the patch over the hole and press down firmly. Finally, use a utility knife or razor blade to trim off any excess material.
Patching a tire with a nail in it isn’t ideal, but it will get you back on the road until you can get proper repairs done. Just be sure to check your tires frequently for any other damage and always drive safely!
Dot Tire Repair Regulations
Dot Tire Repair Regulations
Tire repairs must be made in accordance with the tire manufacturer’s instructions and the provisions of this section. The repair procedures specified herein are minimum requirements and do not preclude following additional repair procedures recommended by the tire manufacturer.
All punctures or objects penetrating the tread depth of 4/32 inch (3.2 mm) or greater shall be removed and the injury repaired in accordance with these regulations. All injuries penetrating to the ply cords shall be repaired in accordance with these regulations. If a tire is repaired, it shall not be driven more than 50 miles per hour (80 km/h).
A speed rating less than 50 miles per hour (80 km/h) may be used if required by state or provincial law, rule, or regulation.
A maximum of three repairs may be made to any one tire, after which it must be discarded. A person who makes a repair subject to these regulations shall keep a record of such repair for at least one year after making the repair.
Such records shall include:
-The date of the repair;
-The name and address of the vehicle owner;
-The make, size, load range, DOT identification number, and other markings on the sidewall of each tire repaired;
-A description of each injury repaired; and
-The signature of the individual making such repairs certifying that they were made in accordance with these regulations
Which of the Following is a Necessary Step in the Tire Repair Process
A necessary step in the tire repair process is removing the damaged tire from the vehicle. This can be done by using a jack to lift the vehicle up and then remove the lug nuts that are holding the tire in place. Once the tire is removed, you can inspect it for any damage and then proceed with repairing or replacing it.
How to Patch a Tire from the Inside
Tire patches are a quick and easy way to fix a flat tire. But, if you don’t know how to do it, it can be a little daunting. Here’s a step-by-step guide on how to patch a tire from the inside so you can get back on the road in no time.
1. Start by taking the wheel off of the car. You’ll need to remove the hubcap (if there is one), and then loosen the lug nuts with a wrench. Once they’re loose, you can pull the wheel off.
2. Take a look at the tire to see where the leak is. It’s usually easiest to find if you inflate the tire first so that you can see where the air is escaping from.
3. Use a utility knife or razor blade to cut away any excess rubber around the leaky area.
This will give you a clean surface to work with and help ensure that your patch will adhere properly.
4. Apply some vulcanizing cement or rubber glue to both the inside of the tire and your patch material (a small square of new rubber or an inner tube patch kit). Then press them firmly together and hold for about 30 seconds until set.
5 . Trim away any excesspatch material that hangs overthe edge ofthe hole . 6 .
Re – inflateyourtireto itsrecommendedpressure . 7 .
How to Patch a Tire at Home
Tire punctures are a reality for anyone who drives on the road. They can happen at the most unexpected and inconvenient times, leaving you stranded on the side of the road. While it’s always best to have a professional handle tire repairs, sometimes it’s just not possible to get to a service station in time.
In these cases, it’s good to know how to patch a tire at home. Here’s a step-by-step guide on how to do just that:
1. Prepare your materials.
You’ll need a tire patch kit (which can be purchased at any auto parts store), a clean work surface, and plenty of light.
2. Remove the damaged portion of the tire. Use a sharp knife or razor blade to cut away the damaged area of the tire, being careful not to damage the rest of the tire in the process.
3. Clean and dry the area around the hole. This is essential in order for the patch to adhere properly.
4. Apply adhesive to both the hole andpatch .
Be generous withthe adhesive; you want there to be enoughto create a strong bond between The two surfaces . 5 Allowthe adhesiveto cure for The amountof time specifiedin The instructions that came withyour kit . This will vary dependingon The typeof adhesive used , so be sure To readThe directions carefully .
6 Once The adhesive has cured , applythe patchto The holeand pressit into place . Again , followThe curing instructionsfor your specific adhesive . 7 Trimany excess material fromaround The patchwitha sharp knife or razor blade .
8 Yourtireis now readyfor use !
Tire Patch/Plug Combination
A tire patch/plug combination is a type of tire repair that uses both a patch and a plug to fix a puncture. This type of repair is often used for larger punctures or holes in the tread of the tire. The patch is used to cover the hole in the tread, while the plug is inserted into the hole to seal it and prevent air from escaping.
This type of repair can be done at home with some basic tools, or by a professional at a tire shop. While this type of repair is not as permanent as a full replacement, it can be an effective way to extend the life of your tires and avoid having to buy new ones prematurely.
Michelin Tire Repair Guidelines
Assuming you would like a blog post discussing Michelin’s tire repair guidelines:
Michelin is a French company that produces tires for passenger cars, trucks, motorcycles, buses, aircrafts, and more. The company has been around since 1889 and has over 100 years of experience in the tire industry.
Michelin provides detailed repair guidelines for their tires on their website. These guidelines are specific to each type of tire that Michelin produces.
For example, the guideline for repairing a puncture in a passenger car tire starts by saying that the puncture must be no bigger than 6mm.
If the puncture is bigger than 6mm, then the tire must be replaced. The next step is to clean out the hole with a wire brush and then insert a plug into the hole from the inside of the tire. After the plug is inserted, it needs to be trimmed so that there is only about 3mm of it sticking out of the hole.
Finally, use vulcanizing cement to seal up both ends of the plug.
It’s important to follow these repair guidelines closely because if not done correctly, it could result in further damage to the tire or even cause an accident.
Is a Tire Plug Permanent
Most people believe that tire plugs are only a temporary fix for a punctured tire. However, with the proper installation, a tire plug can be a permanent repair. Here’s what you need to know about tire plugs and how to make them last.
Tire plugs are made of rubber and are inserted into the hole left by a puncturing object. They expand as they’re pushed into the hole, filling it completely. Once in place, the plug is trimmed flush with the surface of the tire so that it’s level with the rest of the tread.
If done properly, a tire plug can be a permanent repair for a punctured tire. The key is to make sure that the hole is clean before inserting the plug. Any debris left in the hole will cause the plug to fail over time.
To clean out the hole, use a wire brush or other sharp tool to remove any foreign objects. Once clean, insert the plug into the hole using pliers or your fingers. Be sure to push it in firmly so that it expands fully and seal off any gaps around it.
Finally, trim off any excess material so that it’s level with the rest of the tread.
Conclusion
If you’re ever in a pinch and need to fix a flat tire, follow this five step process for safely and effectively using a tire repair kit. First, find the leak in your tire by feeling around the outside for any bulges or punctures. Once you’ve found the leak, clean it with a wire brush to ensure that the area is clear of debris.
Next, apply vulcanizing cement to the affected area and let it dry for about 10 minutes. Once it’s dry, place a patch over the hole and press down firmly to secure it. Finally, use tire plugs to fill any remaining holes or cracks.
With these simple steps, you can get back on the road in no time!